When the proper procedure is followed to install your roof, you’ll be assured of durability, safety, and security. Roof installation requires an intentional planning process, competent techniques, and competent materials. Furthermore, roof installation may seem difficult; however, when more-than-competent assistance is provided and the process is followed accurately, it is uncomplicated. Weaver Construction LLC will provide a detailed overview of the process of residential roof installation. This blog will be your guide to a successful installation of your residential roofing system, with the intention of ease of planning through successful maintenance and repair.
Ultimate Guide to Residential Roof Installation
Being knowledgeable about the process will help you feel more confident and prepared for a new roof. Whether it’s your first roof install or a roof replacement, having an idea of what to expect can help make the project more manageable and easier to navigate.

This is a detailed guide to the roofing installation process that outlines what to do from start to end:
Step 1: Preparation: Inspection, Material Selection & Planning
Before driving any nails into the deck, arrangements must be made. A residential roof installation requires an attractive, engaging, and creative plan, the materials to be used, and an assessment of what is on the roof already. This includes the planning of time and space for the project, the materials that will be needed, and the inspection of the roof.
| Key Takeaway Good prep = fewer surprises later |
Step 2: Tear It Down Right: Removing the Existing Roof
This includes carefully removing flashing, underlayment, and possibly old shingles (often to the deck itself). This step is important for checking the deck for any damage as well as ensuring the new roof will have a firm foundation.
| Myth You can install new shingles over old ones— it’s not always safe! |
Step 3: Solid Base, Strong Roof: Inspecting & Repairing the Deck
One of the most important tasks for the roof deck is to inspect/repair the roof. This can include evaluating the existing deck for damage, replacing any old/damaged elements, and potentially installing new decking if necessary.
| Pro Tip Add a drip edge at the eaves (the lower edge of the roof). |
Step 4: Shield Before Style: Laying Underlayment and Flashing
Flashing and underlayment are important factors when it comes to the installation of a roof on a residential property because they act as a starter water barrier/restriction and give the roof protection prior to shingle application, both underlayment and flashing channel water away from roof areas that may leak.
Step 5: Precision in Every Layer: Installing the New Roofing Material
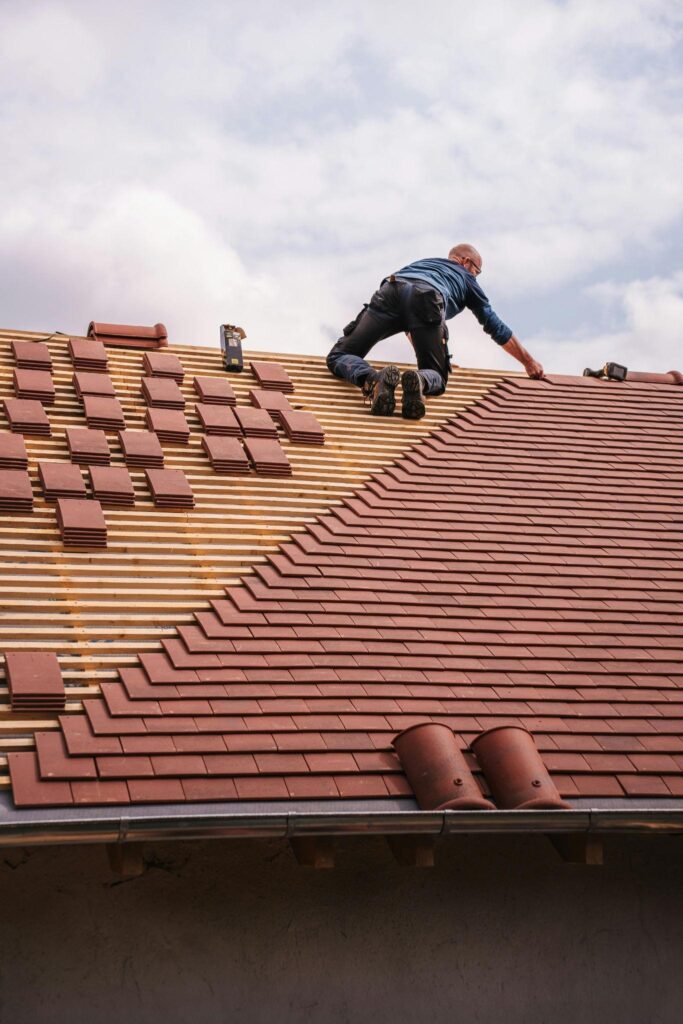
When installing new roofing material, all of the following tasks will be performed: prepare the deck, install the underlayment, install the selected material (metal panels, tiles, or shingles), install flashings, and install ridge caps and trim.
| Pro Tip Use roofing nails, not regular ones. Caution! Poor nailing leads to blow-offs in storms. |
Step 6: The Finishing Touch: Final Inspection and Cleanup
The last phases for installing a residential roof are a thorough clean up and a final inspection. This includes cleaning off all debris, verifying that the roof is properly installed, and verifying that the work is up to quality and building code.
Beyond Installation: Smart Roof Rules Every Homeowner Should Know
Roofing is not finished after it is installed. Long-term care insurance protects your home and your investment for many years in the future. Whether it’s summer storms or falling leaves, the golden rules allow you have the best performing roof.

Let’s have a look at the smart rules that every homeowner should consider before installing a roof:
| The Game of Rules! |
| Rule 1: Inspect Regularly — What You Can’t See Will Hurt You |
| Rule 2: Keep Gutters Clean — Because Water Always Finds a Way |
| Rule 3: Trim overhanging tree branches — Your Roof Isn’t a Jungle Gym |
| Rule 4: Small Issues? Fix Them Fast —Ignoring these problems becomes costly. |
| Rule 5: Ventilate or Regret It — Airflow Isn’t Optional |
Conclusion
Your roof is your home’s first line of defense. The construction of your roof requires a series of steps that matter for the longevity and durability of your roof, from prep to final inspection. If you can install your new roof with thoughtful planning, the best materials, and maintain the roof on a continual basis, you will have many decades of valuable service. This guide provides you with the tools to do it right, avoid mistakes that cost money, and protect the most valuable things: your family and home.
Faqs
- How long does it take to install a roof in a residential setting?
Depending on the material, weather, and size of the roof, most installations take one to three days. - What kind of roofing material is ideal for my house?
The most popular type of shingles is asphalt, but depending on your climate and financial situation, metal or tile might be a better option. - Should I leave my house while the installation is happening?
Expect noise and vibrations, but not necessarily. If you have small children or work from home, you might want to leave. - After installation, how frequently should I check my roof?
Check for wear or damage twice a year, usually in the spring and fall, and following significant storms. - Can I save money by doing my roof installation?
DIY is dangerous unless you know how to do it. Errors can result in serious structural problems, so always get professional advice first.


